Instructions

Assembly instructions

Get the images and parts ready, then put the frame together.

Parts inventorycheck that you have everything

Use this visual reference when identifying the printed and non-printed parts.

Frame / Display

Frame
Frame
Stand
Stand
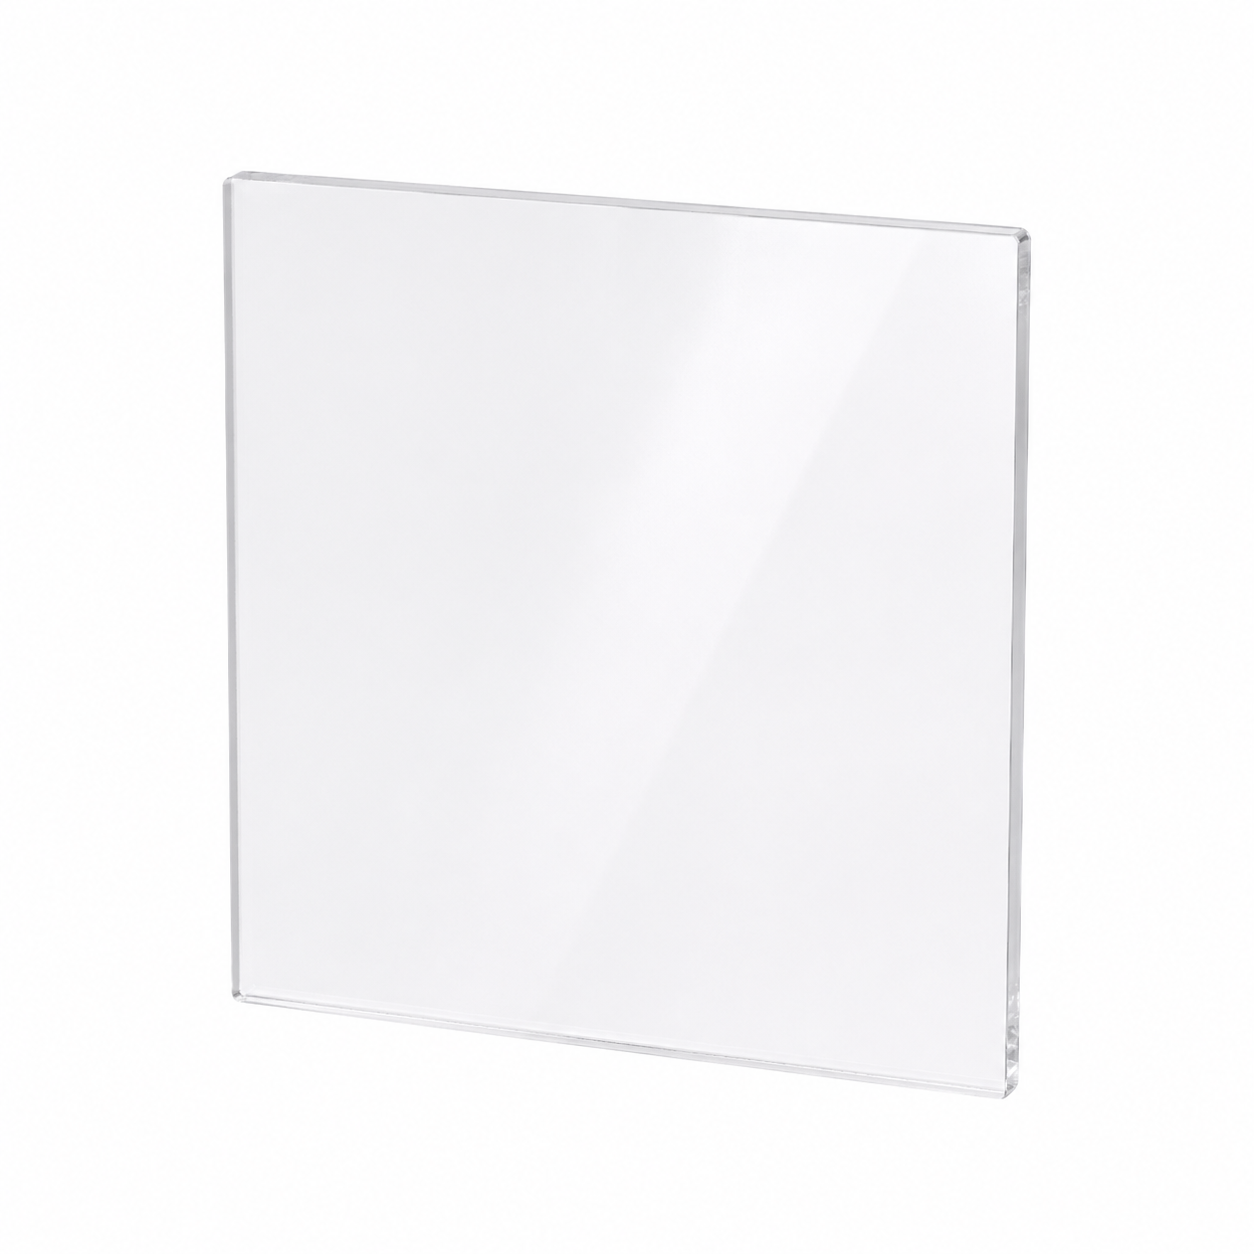
Acrylic
Acrylic
Backing Board
Backing Board

Images

Cover Image
Cover Image
Reveal Image
Reveal Image

Roller / Low-Friction Path

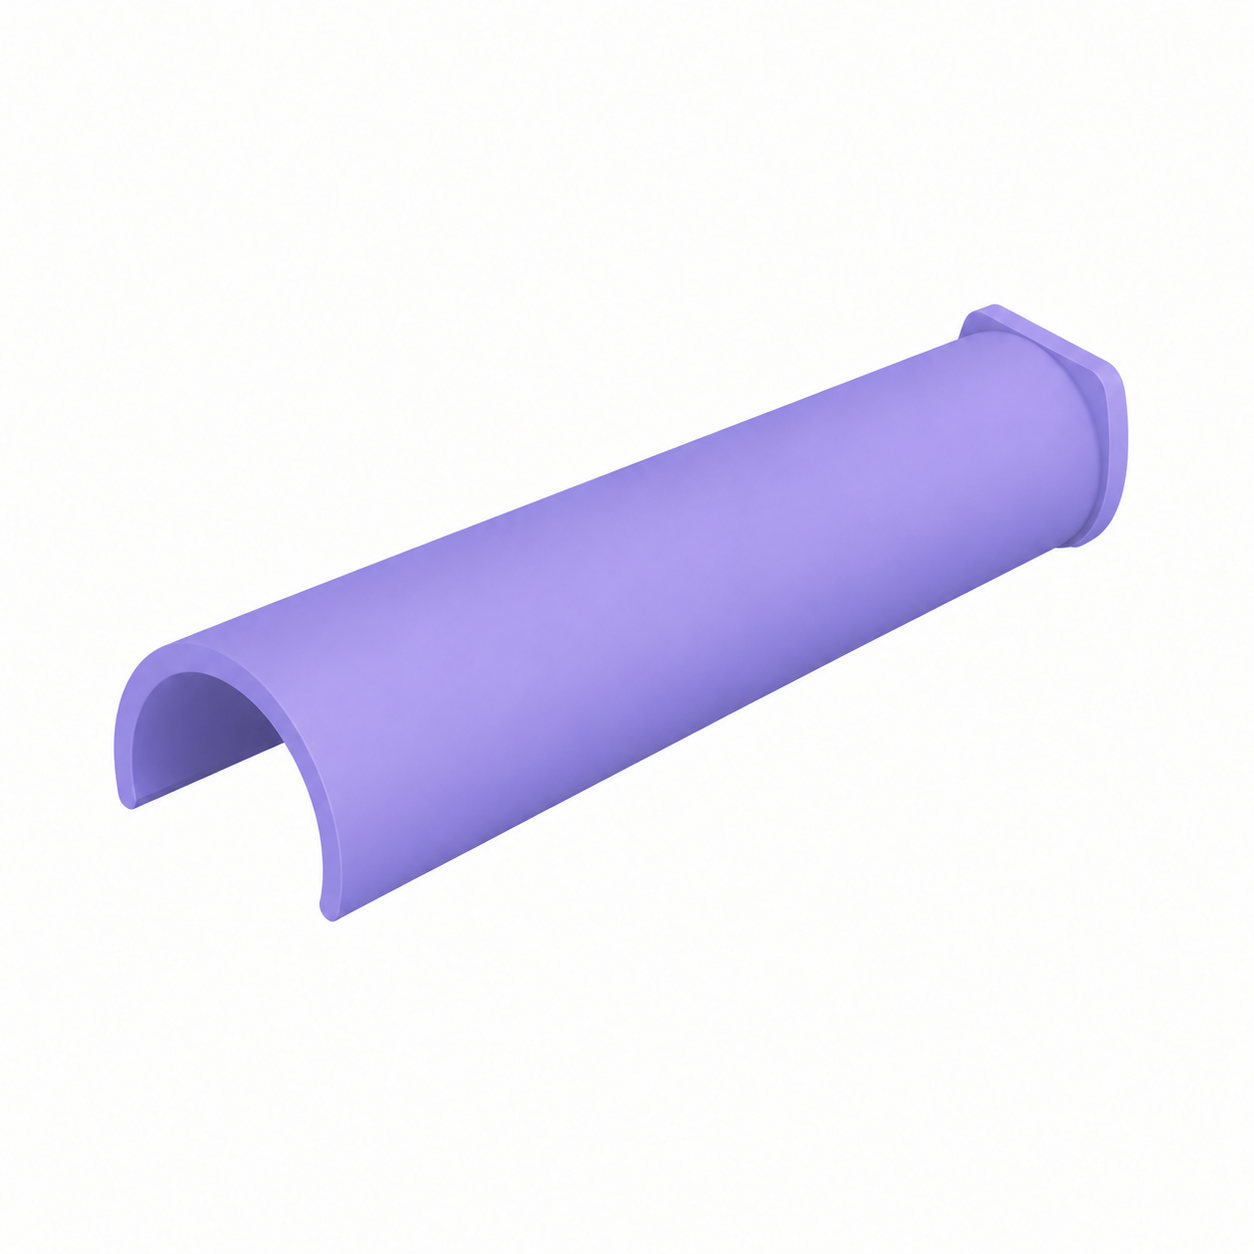
Roller
Roller
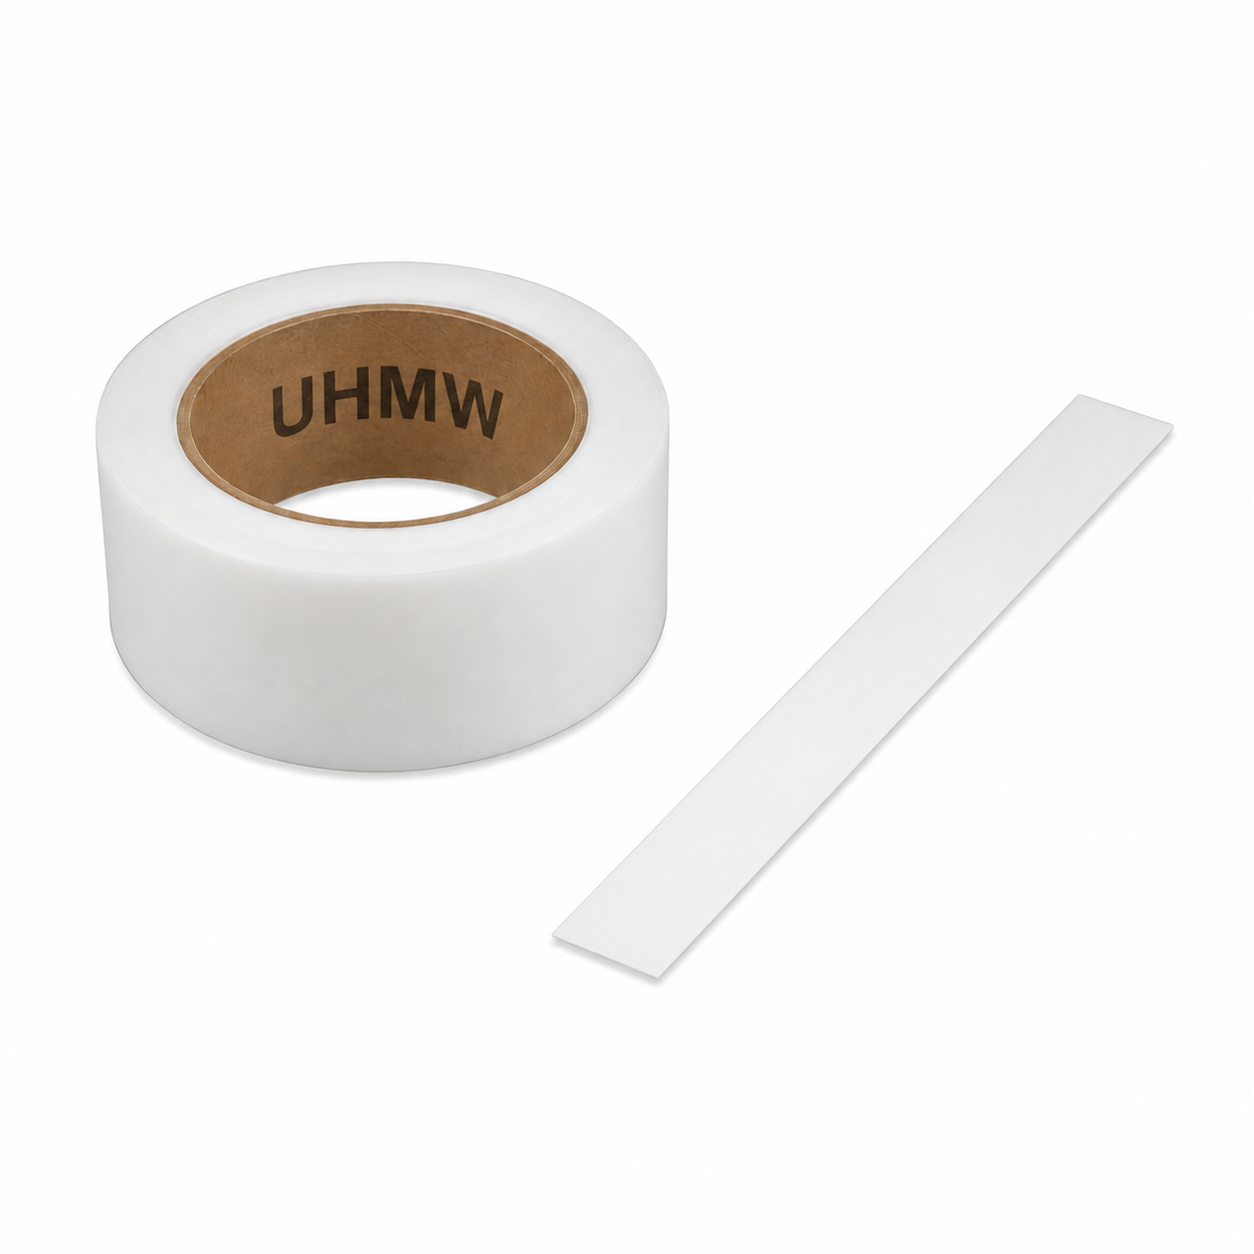
UHMW Tape
UHMW Tape
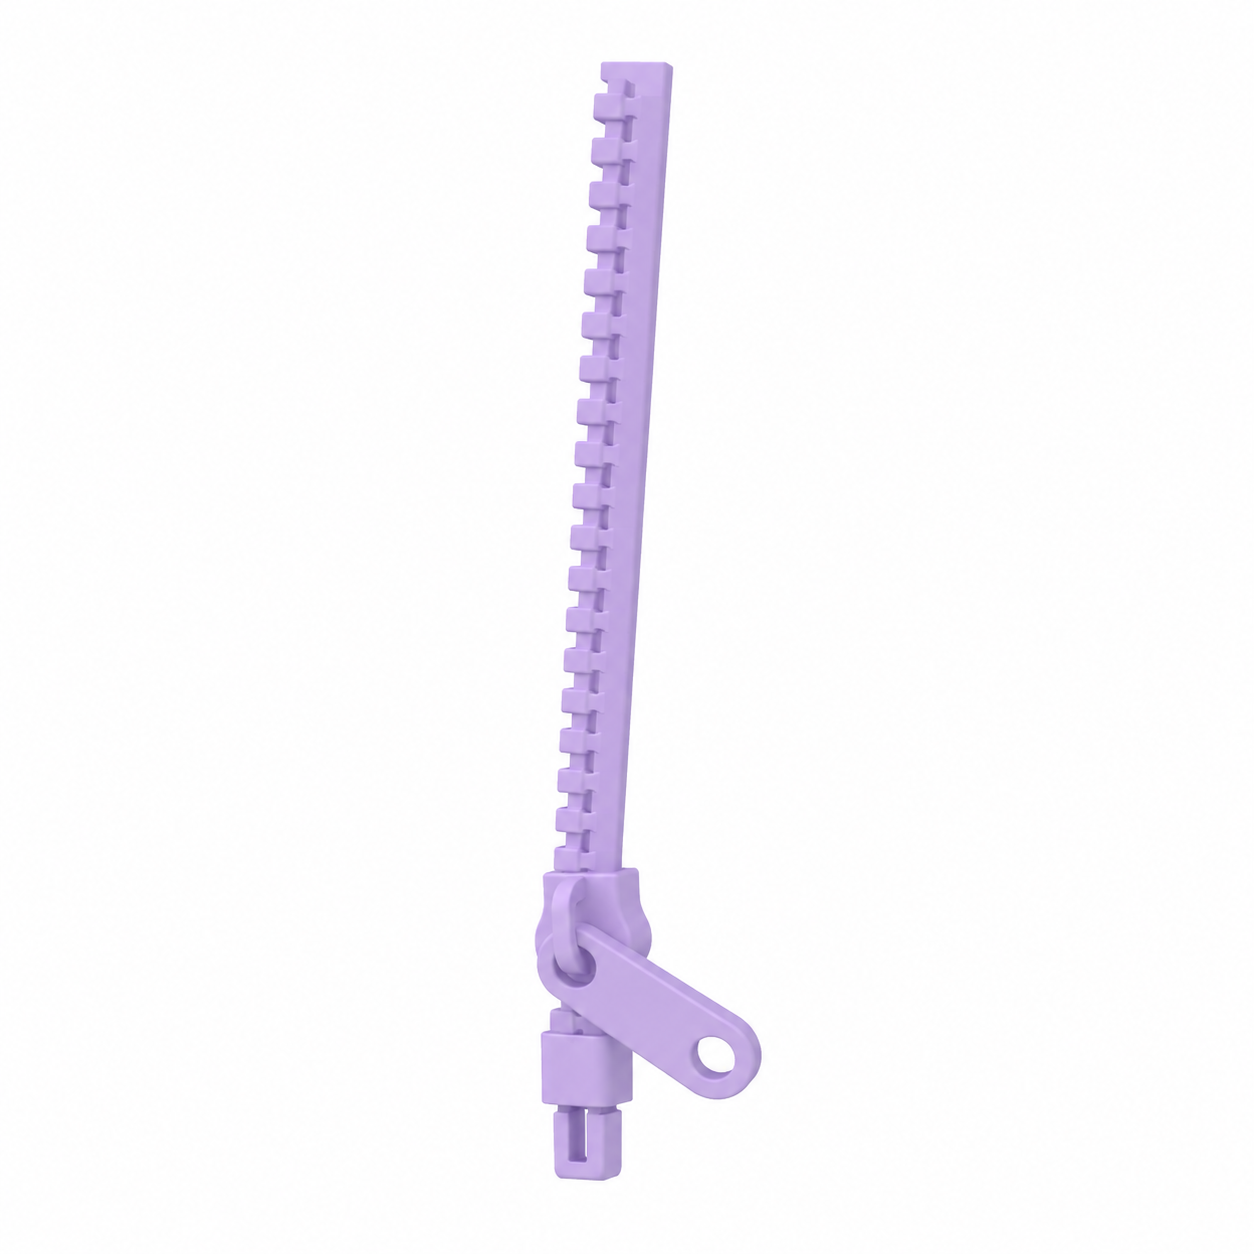
Zipper Track
Zipper Track

Clock / String System

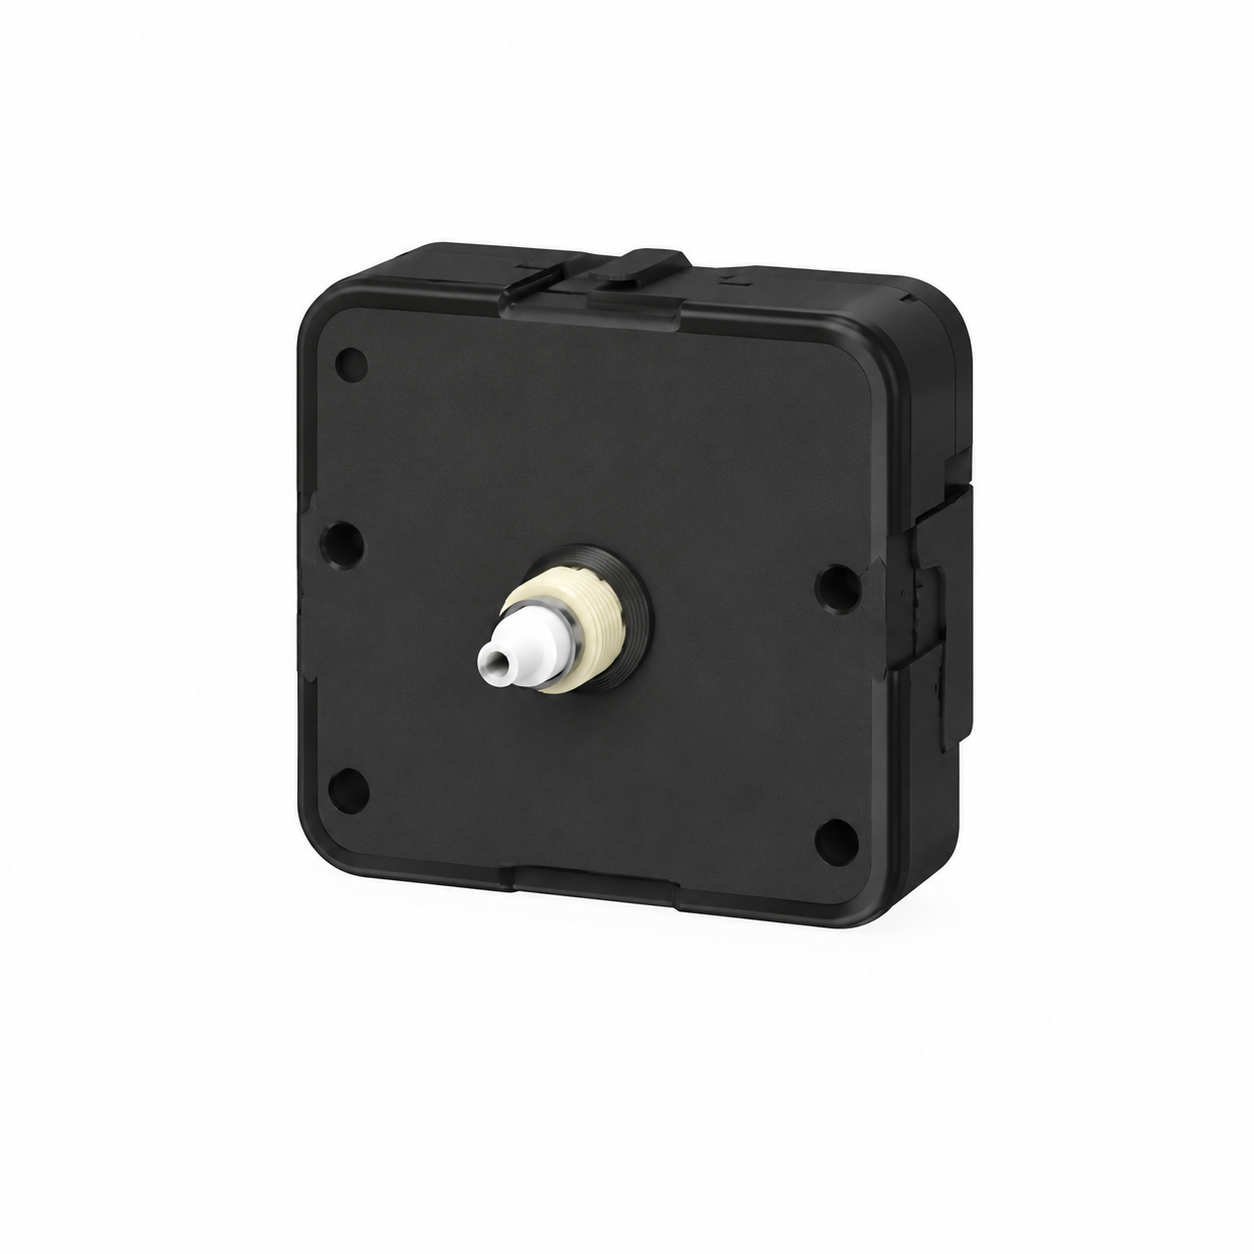
Clock Movement
Clock Movement
Two capstans
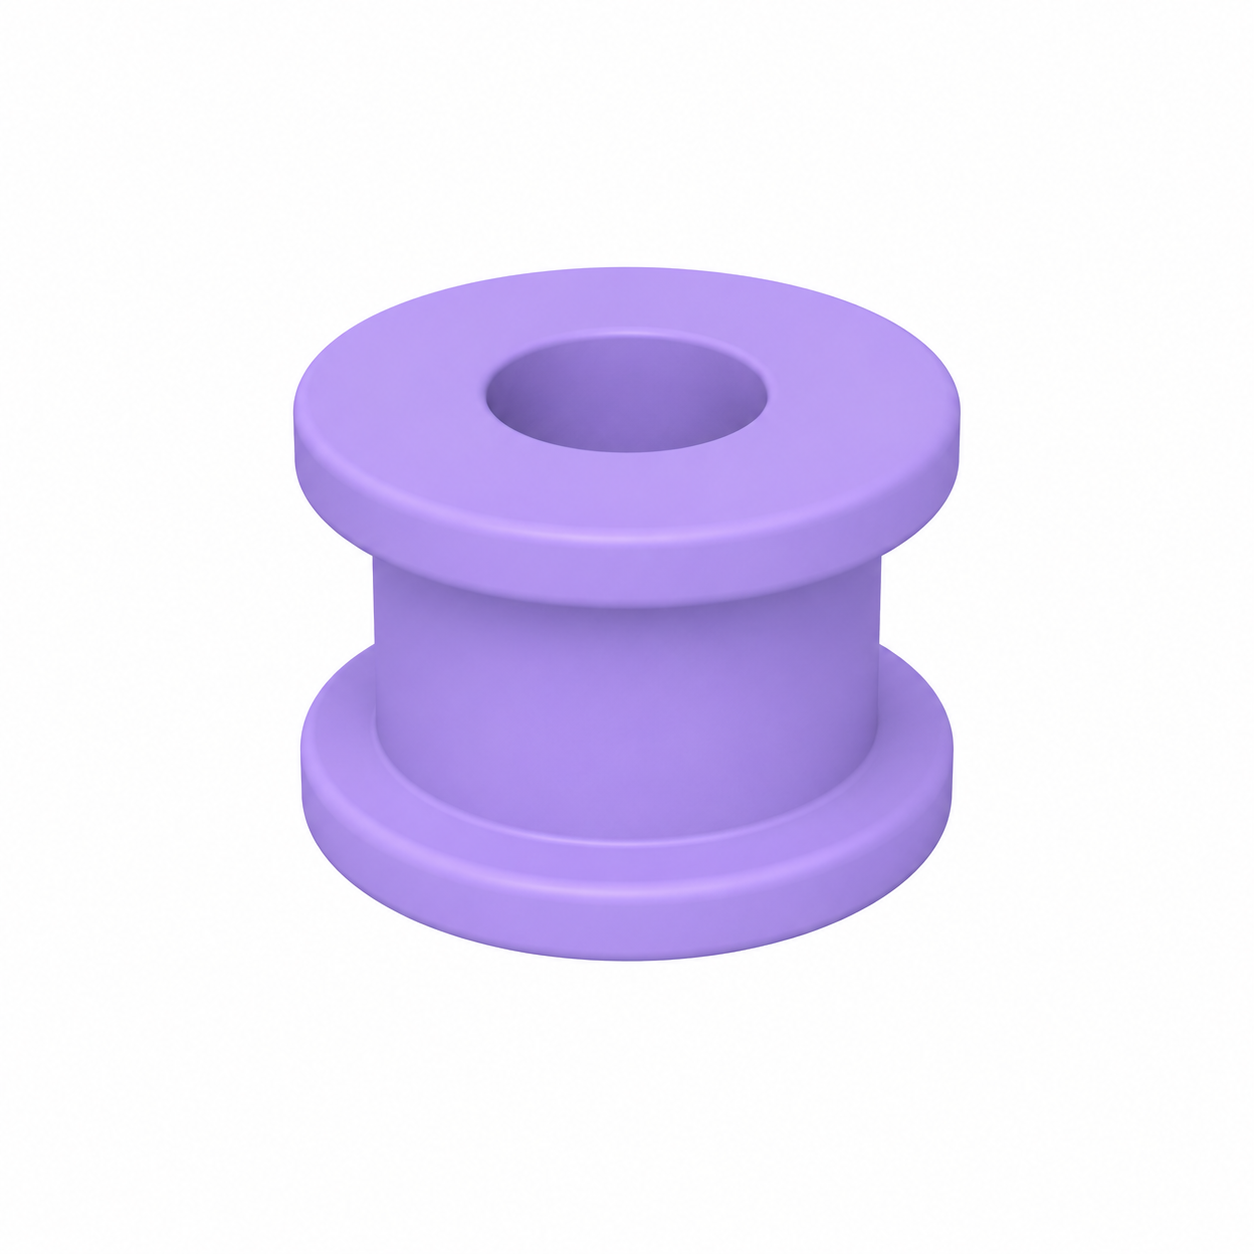
Clock String Guide
Clock String Guide
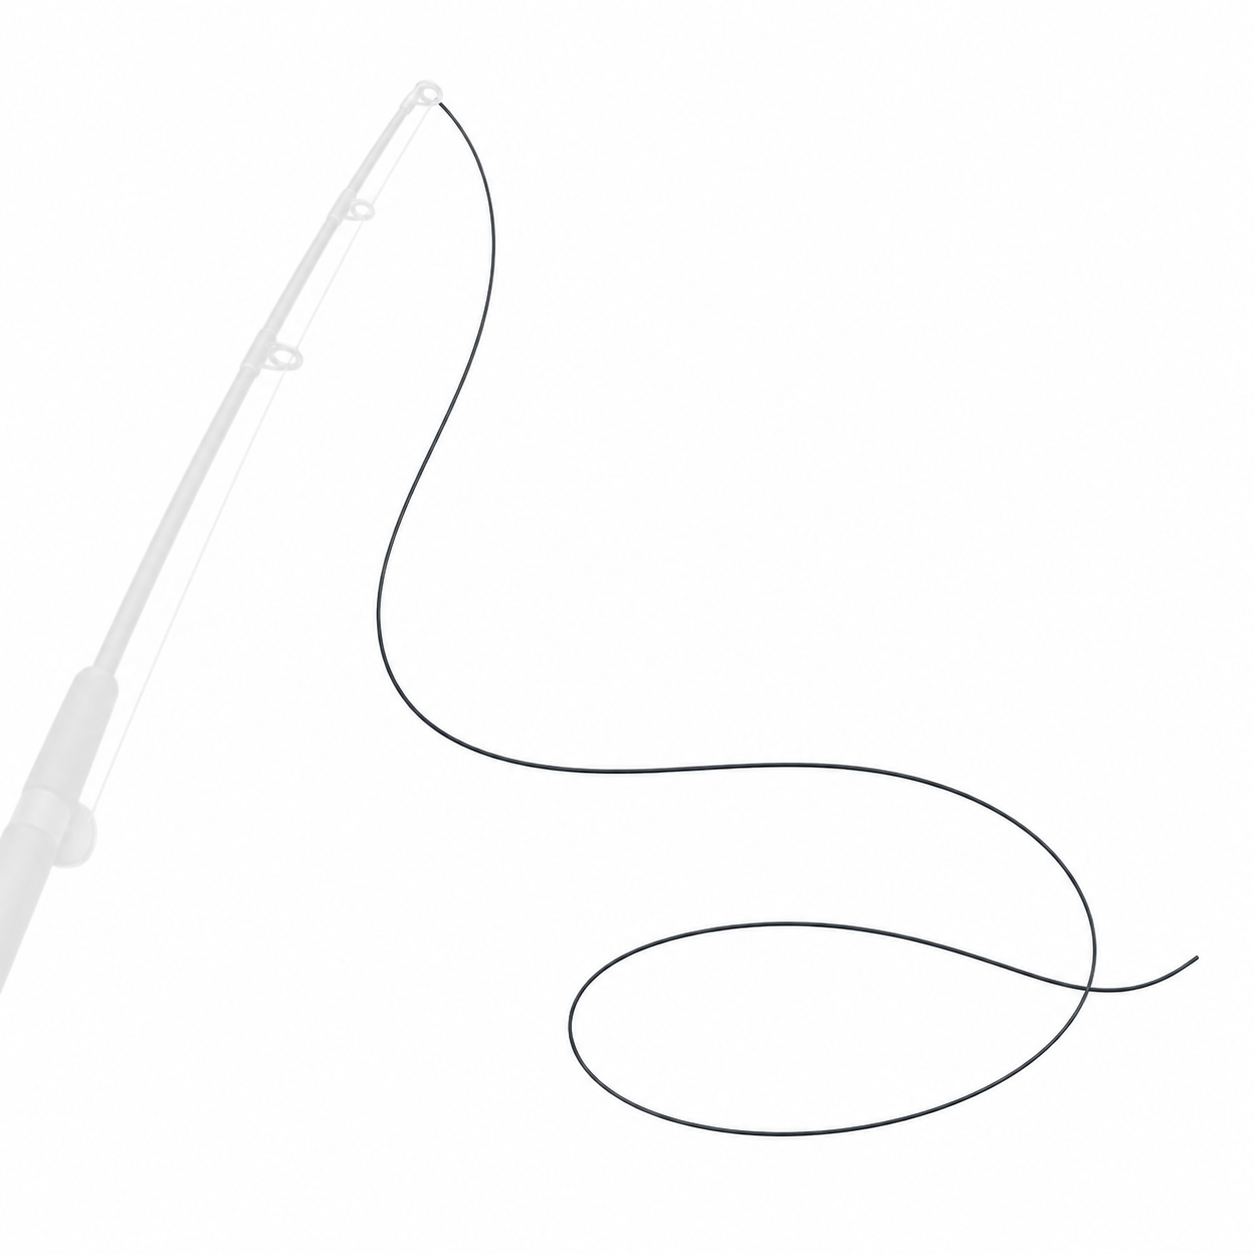
Fishing Line
Fishing Line

Trap Door / Release System

Dry Trap Door Rig
Dry Trap Door Rig
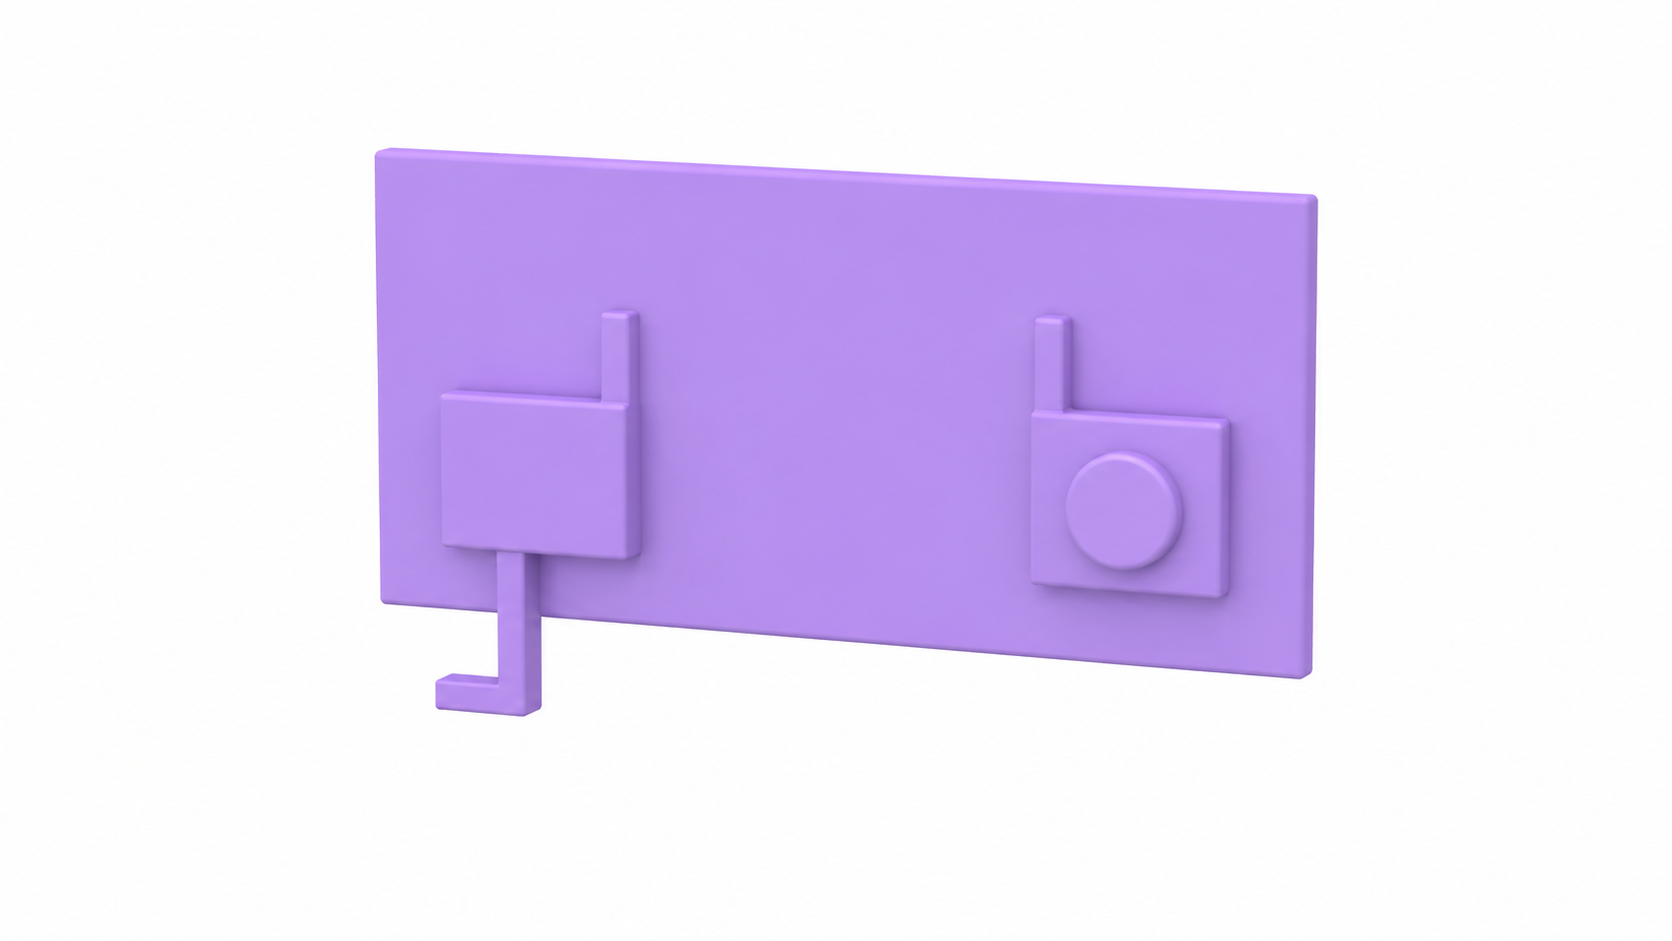
Weight Latch
Weight Latch

Weight Rig

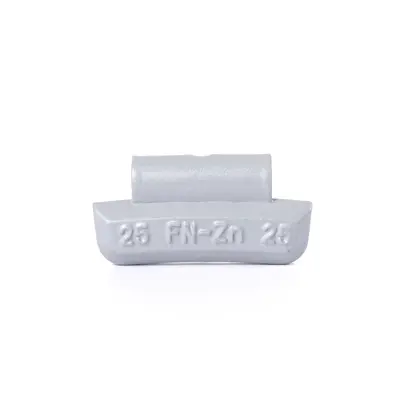
Weight
Weight
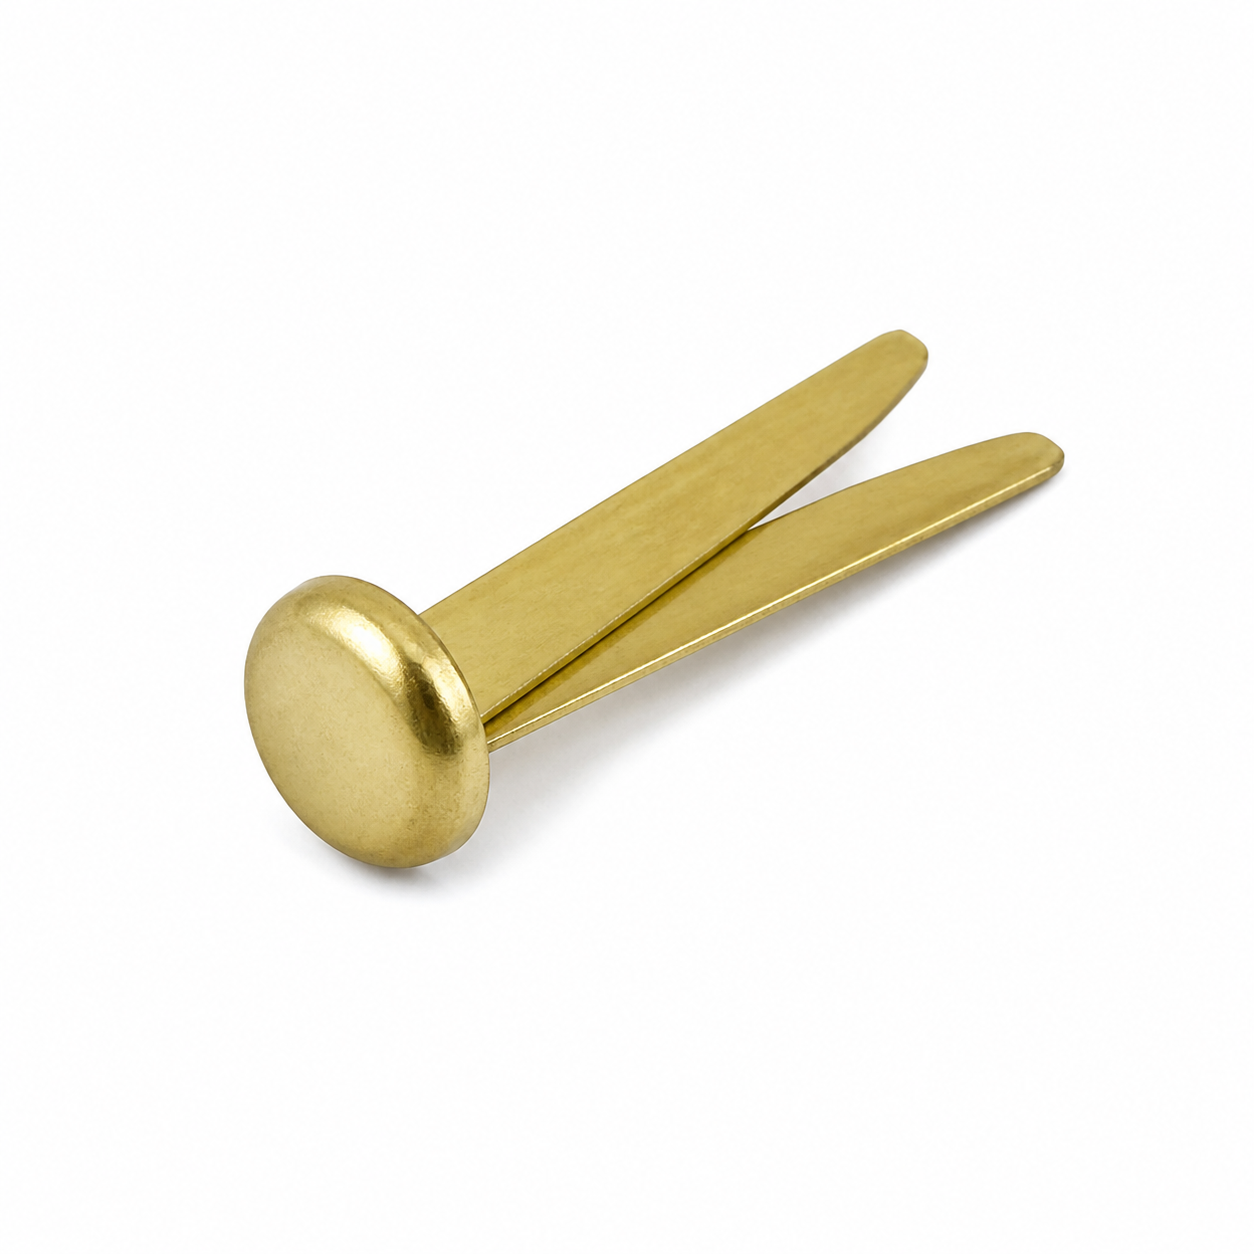
Brad pin
Brad Pin
Assembly guide

Put the frame together

Before following the steps, it helps to understand the little chain reaction inside the frame. The instructions will walk you through the setup, but the mechanism is forgiving. Once you understand what each part is trying to do, you can use the steps as both a guide and a checklist.
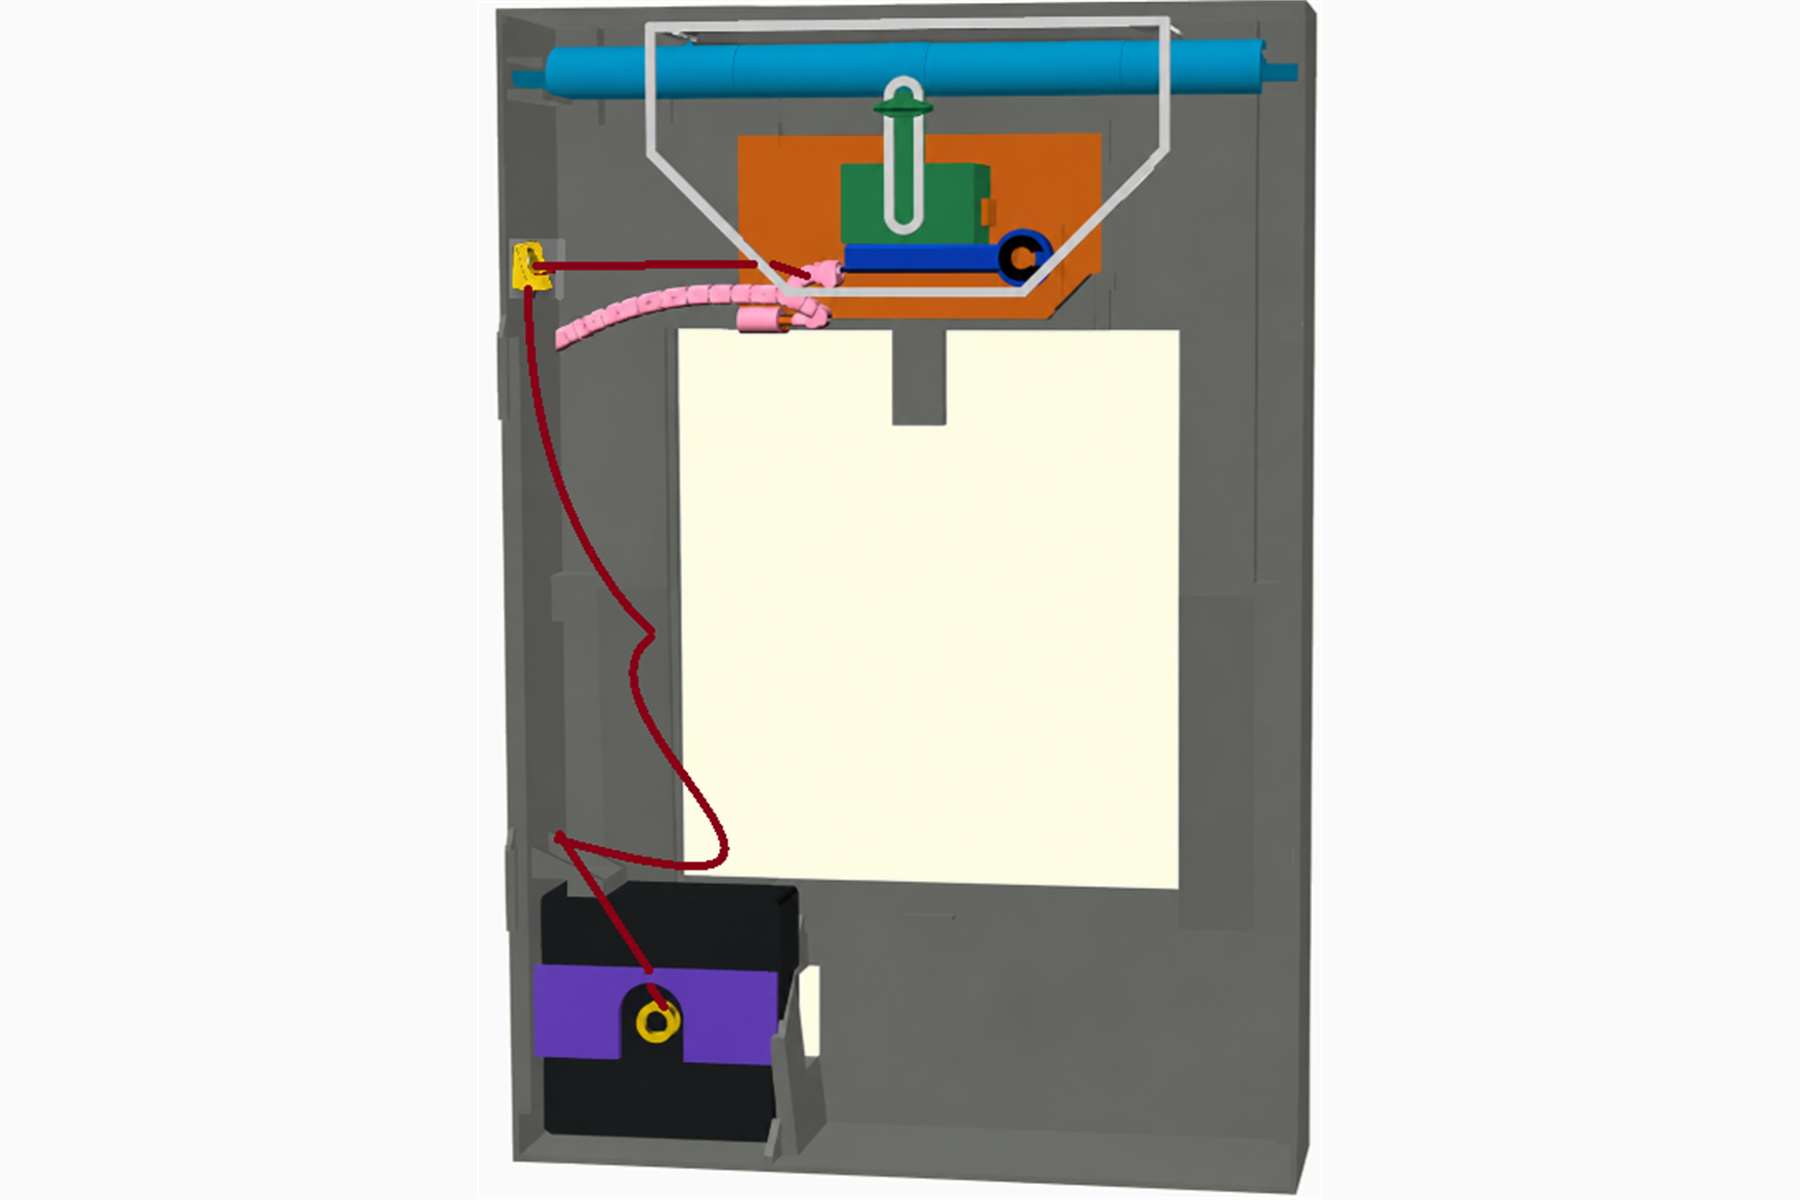
Understand the mechanismSee how the clock, string, zipper, latch, weight, and cover image create the reveal.

How the mechanism works:

  • Clock mechanism sits inside the frame.
  • Capstan presses onto the clock mechanism.
  • String ties to the capstan.
    • Then runs through the clock/string guide hole.
    • And through the top-left eyelet.
    • Then ties to the zipper anchor.
  • Zipper head supports the latch.
  • Latch supports the weight.
  • Weight is tethered to the sliding cover image.
  • Cover image sits over the reveal image.
  • When the timer runs, the clock winds the string, pulls the zipper, releases the latch, drops the weight, slides the cover image up, and reveals the image underneath.
Full colored mechanism overview

Easy-to-miss checks:

Assembly guide is loading.

Troubleshooting and FAQ

How do I reset the mechanism?

Return to the assembly instructions and repeat the steps that set the mechanism in motion. You will need to redo some of the assembly process, but not all of it.

Threading the string is a nuisance.

It can be. Tweezers are strongly recommended for guiding the string through tight spots and positioning the image paper. If needed, stiffen the end with a small drop of superglue, or glue the supplied tiny metal wire to the end of the string and use it as a threading needle.

I'm worried I assembled it incorrectly and it won't work.

The design and assembly instructions include multiple layers of redundancy. Most individual steps are not essential on their own; instead, they work together to reduce the overall likelihood of failure to below 1%. If you get one detail slightly wrong, the mechanism will usually still work - you have most likely increased the risk of failure only marginally.